How to Edit a Video in Any Software
Editing is a necessary part of making any video.
A lot of people will say this is where the story is actually created since you control content, pacing, music and color.
However even if you’re not doing anything fancy or advanced, you’re still going to need to at least be able to use editing software to remove mistakes and trim the beginning and the end of the clip or clips that make up your video.
This guide is by no means exhaustive and will focus on the process as a whole.
For an in depth tutorial on how to edit, check out my courses on Final Cut Pro X or Adobe Premiere Pro.

The Basics
Like most things editing can be a long laborious process or quick and easy. It all depends on how much prep you did and exactly what you are making. Editing the latest Star Wars movie can take a year but editing a one clip video to upload to Instagram only takes a couple minutes. Either way the process is shockingly similar.
Import your files
Create a sequence/timeline with a setting that matches your files
Drag down footage to your sequence/timeline
Remove unwanted footage
Edit audio (if necessary)
Add necessary elements (b-roll/music/text/graphics/etc.)
Color/Grade footage
Export at your desired resolution
Upload to host
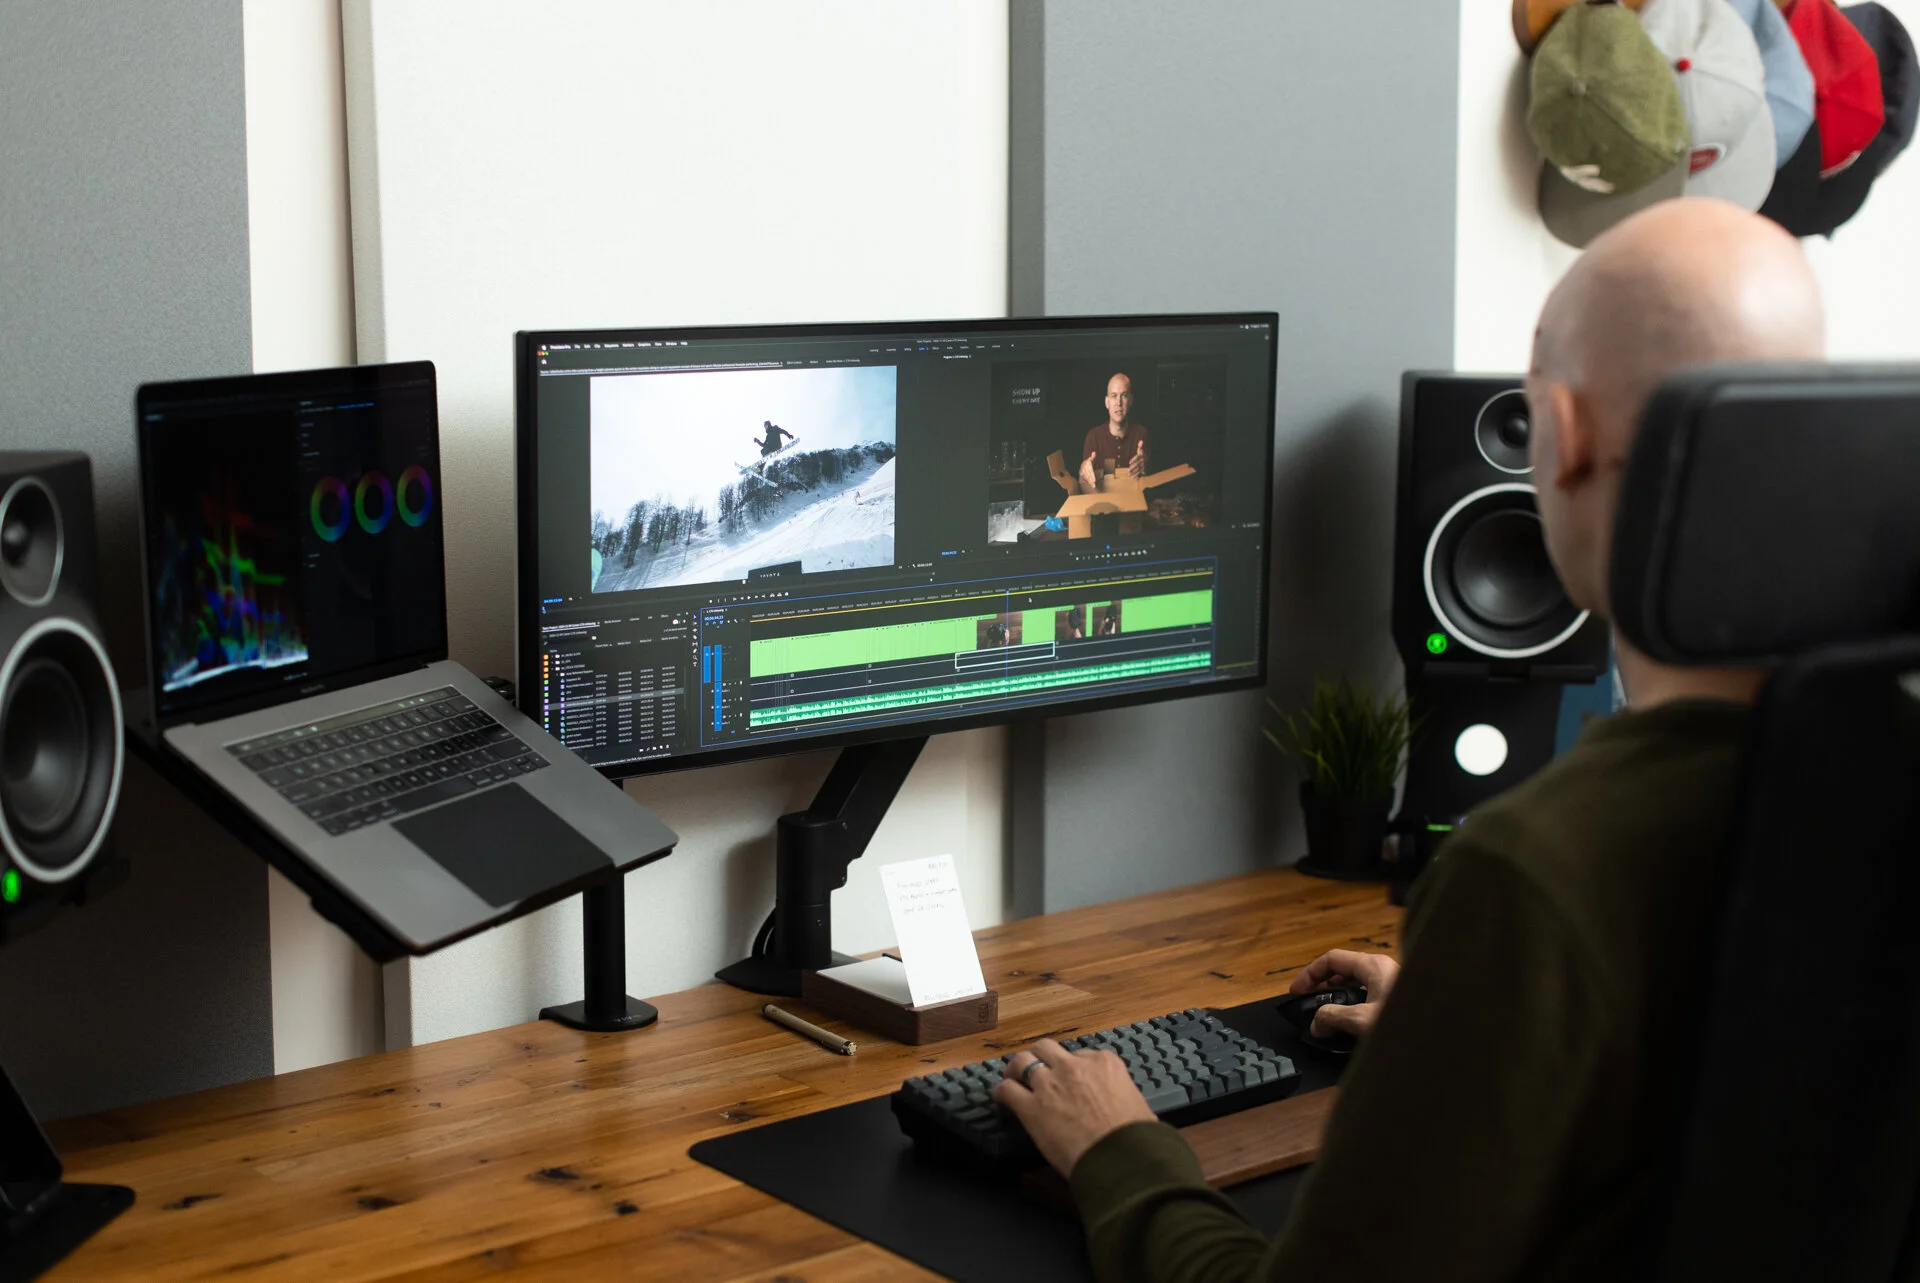
The process shown below is in Adobe Premiere Pro but will be similar to whichever editor you choose to use.
Importing Files
Go to the dropdown menu File > Import > Select video/audio files you wish to use as well as any graphics or music. Before getting started take a moment to organize your project. I like to keep everything in separate folders based on what type of media it is.

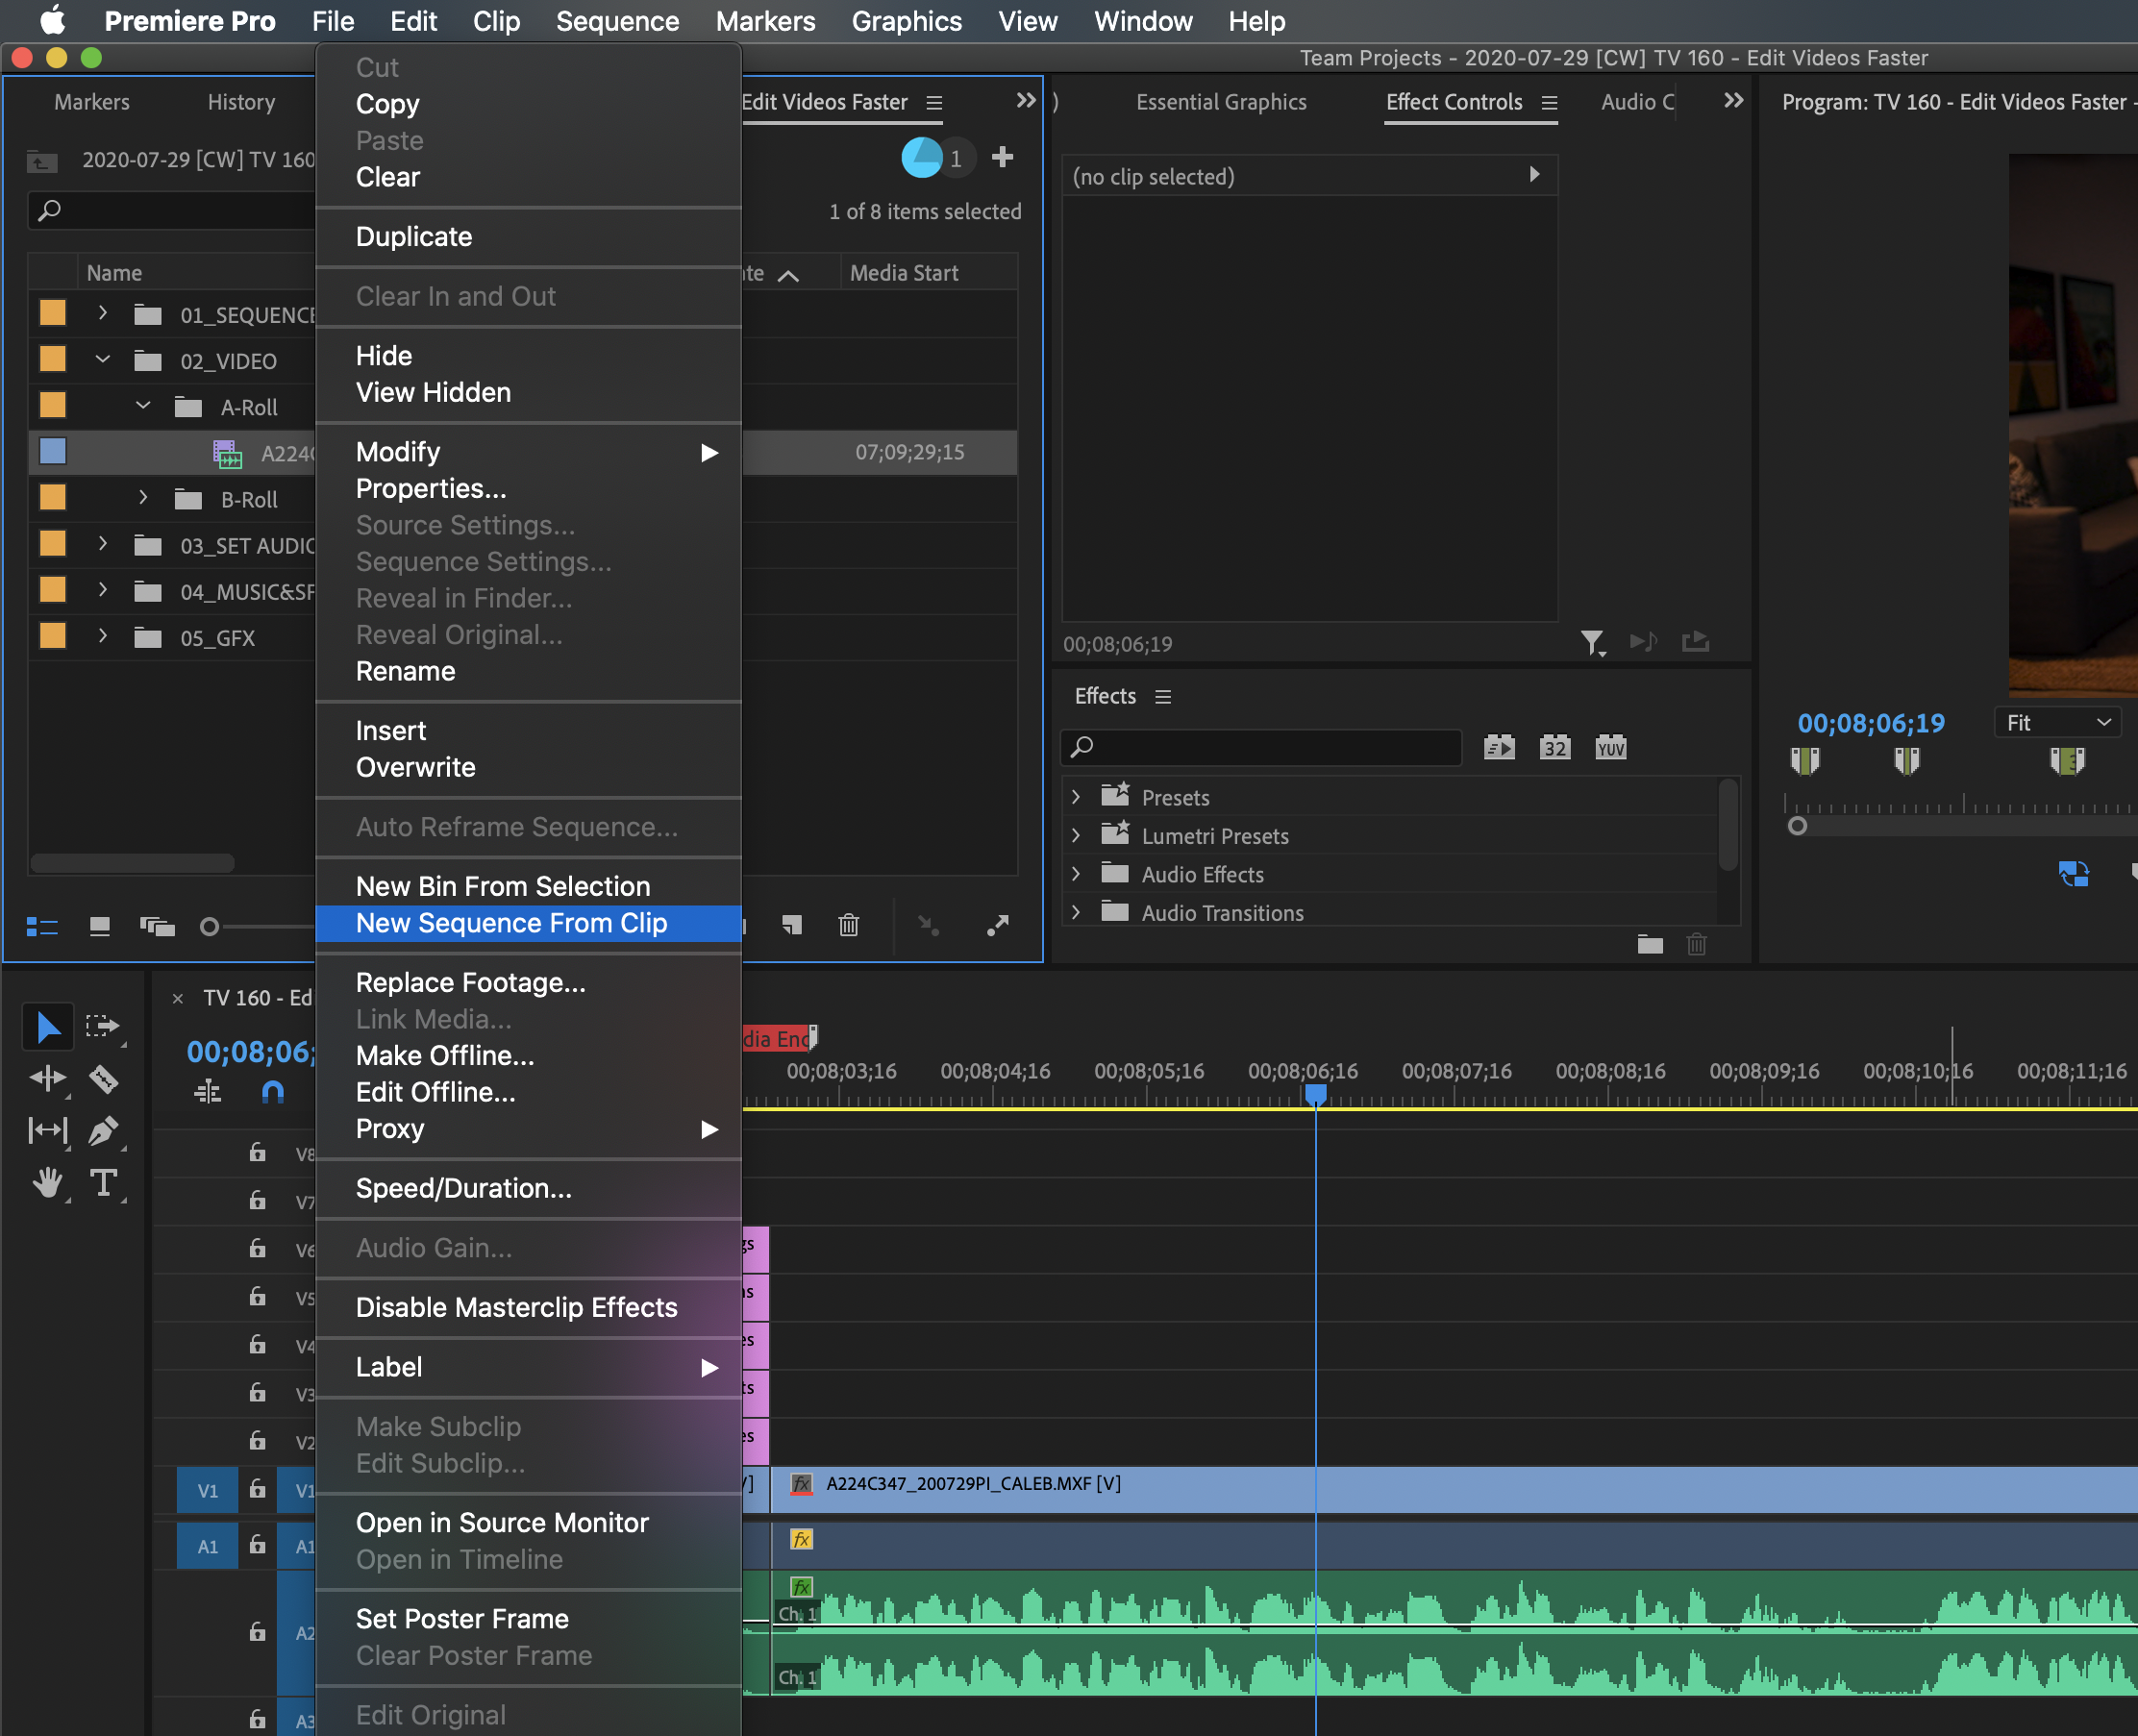
Create a Sequence/Timeline
Right click on a clip you wish to use and select “New Sequence From Clip”. You can also drag the clip down to your sequence/timeline workspace or use the upper menu.
Remove Unwanted Footage
Move through the clip and delete anything you don’t want in your video. Also, add any audio or video transitions that you need to smooth things out.

Edit Audio
If needed, raise the audio gain to be between -3 and -12dB making sure not to clip any peaks. This is a good time to do any keyframing, noise reduction, channel selection or apply any other audio effects.

Add Additional Elements
If you haven’t already done so, import or create any graphics or music that you want to add to your video and drag and drop them into your sequence.
PRO TIP: If you’re using background music over someone talking, try to set your music levels around the -25dB mark.

Color Correct and Grade Footage
Once your video has been finalized, using your color workspace, color correct any footage that needs it. You can also apply a grade to give your video a certain look if you desire.

Export
Go to File > Export > Media and select the location you wish to save the file as well as the resolution you prefer (e.g. 1080p vs 4k) and export.


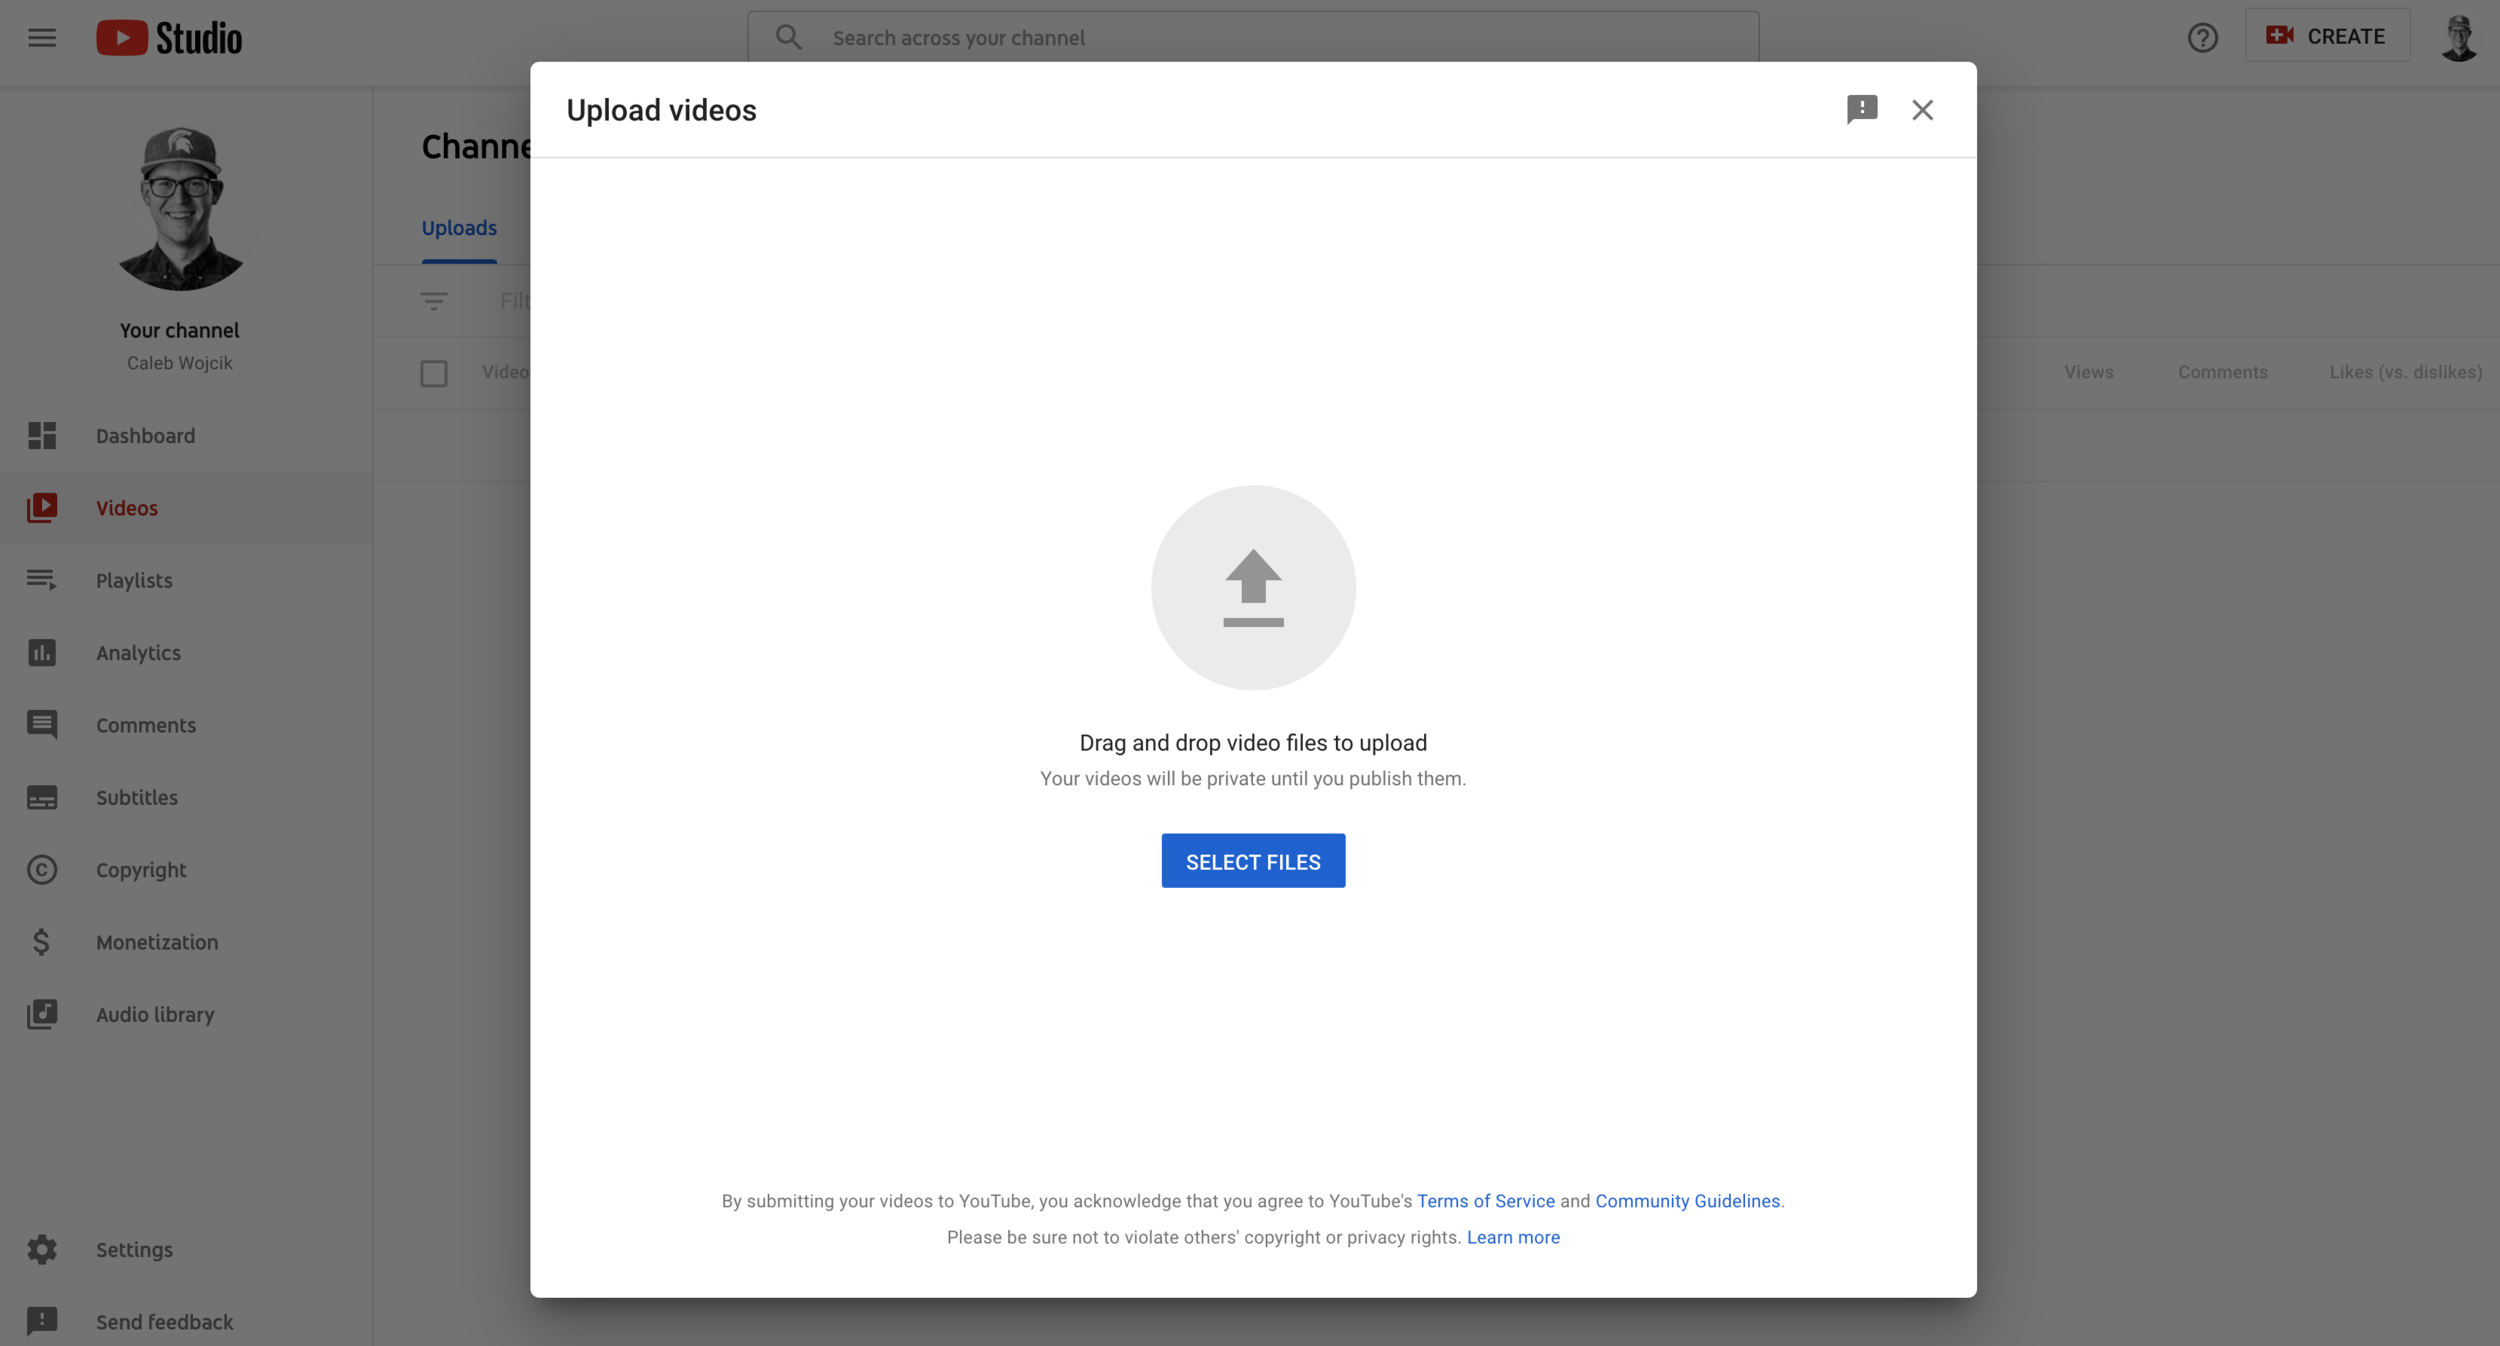
Upload
Upload the video to the host(s) you use whether it’s YouTube, social media, your website, to a client, or a collaborative review site like Frame.io.
PRO TIP: Watch the video before publishing it to catch any export or upload errors. (Especially if you’re uploading the final deliverable.)
Choosing the Right Editing Software
It can be hard to know which video editing software is best for your needs, especially if you haven’t done a lot of editing, or any at all! There are two different paths you can go down depending on whether you use a PC or Mac.
PC - Start with Camtasia, which also allows for screen recording. If you want to upgrade to something more advanced, use Adobe Premiere Pro or DaVinci Resolve.
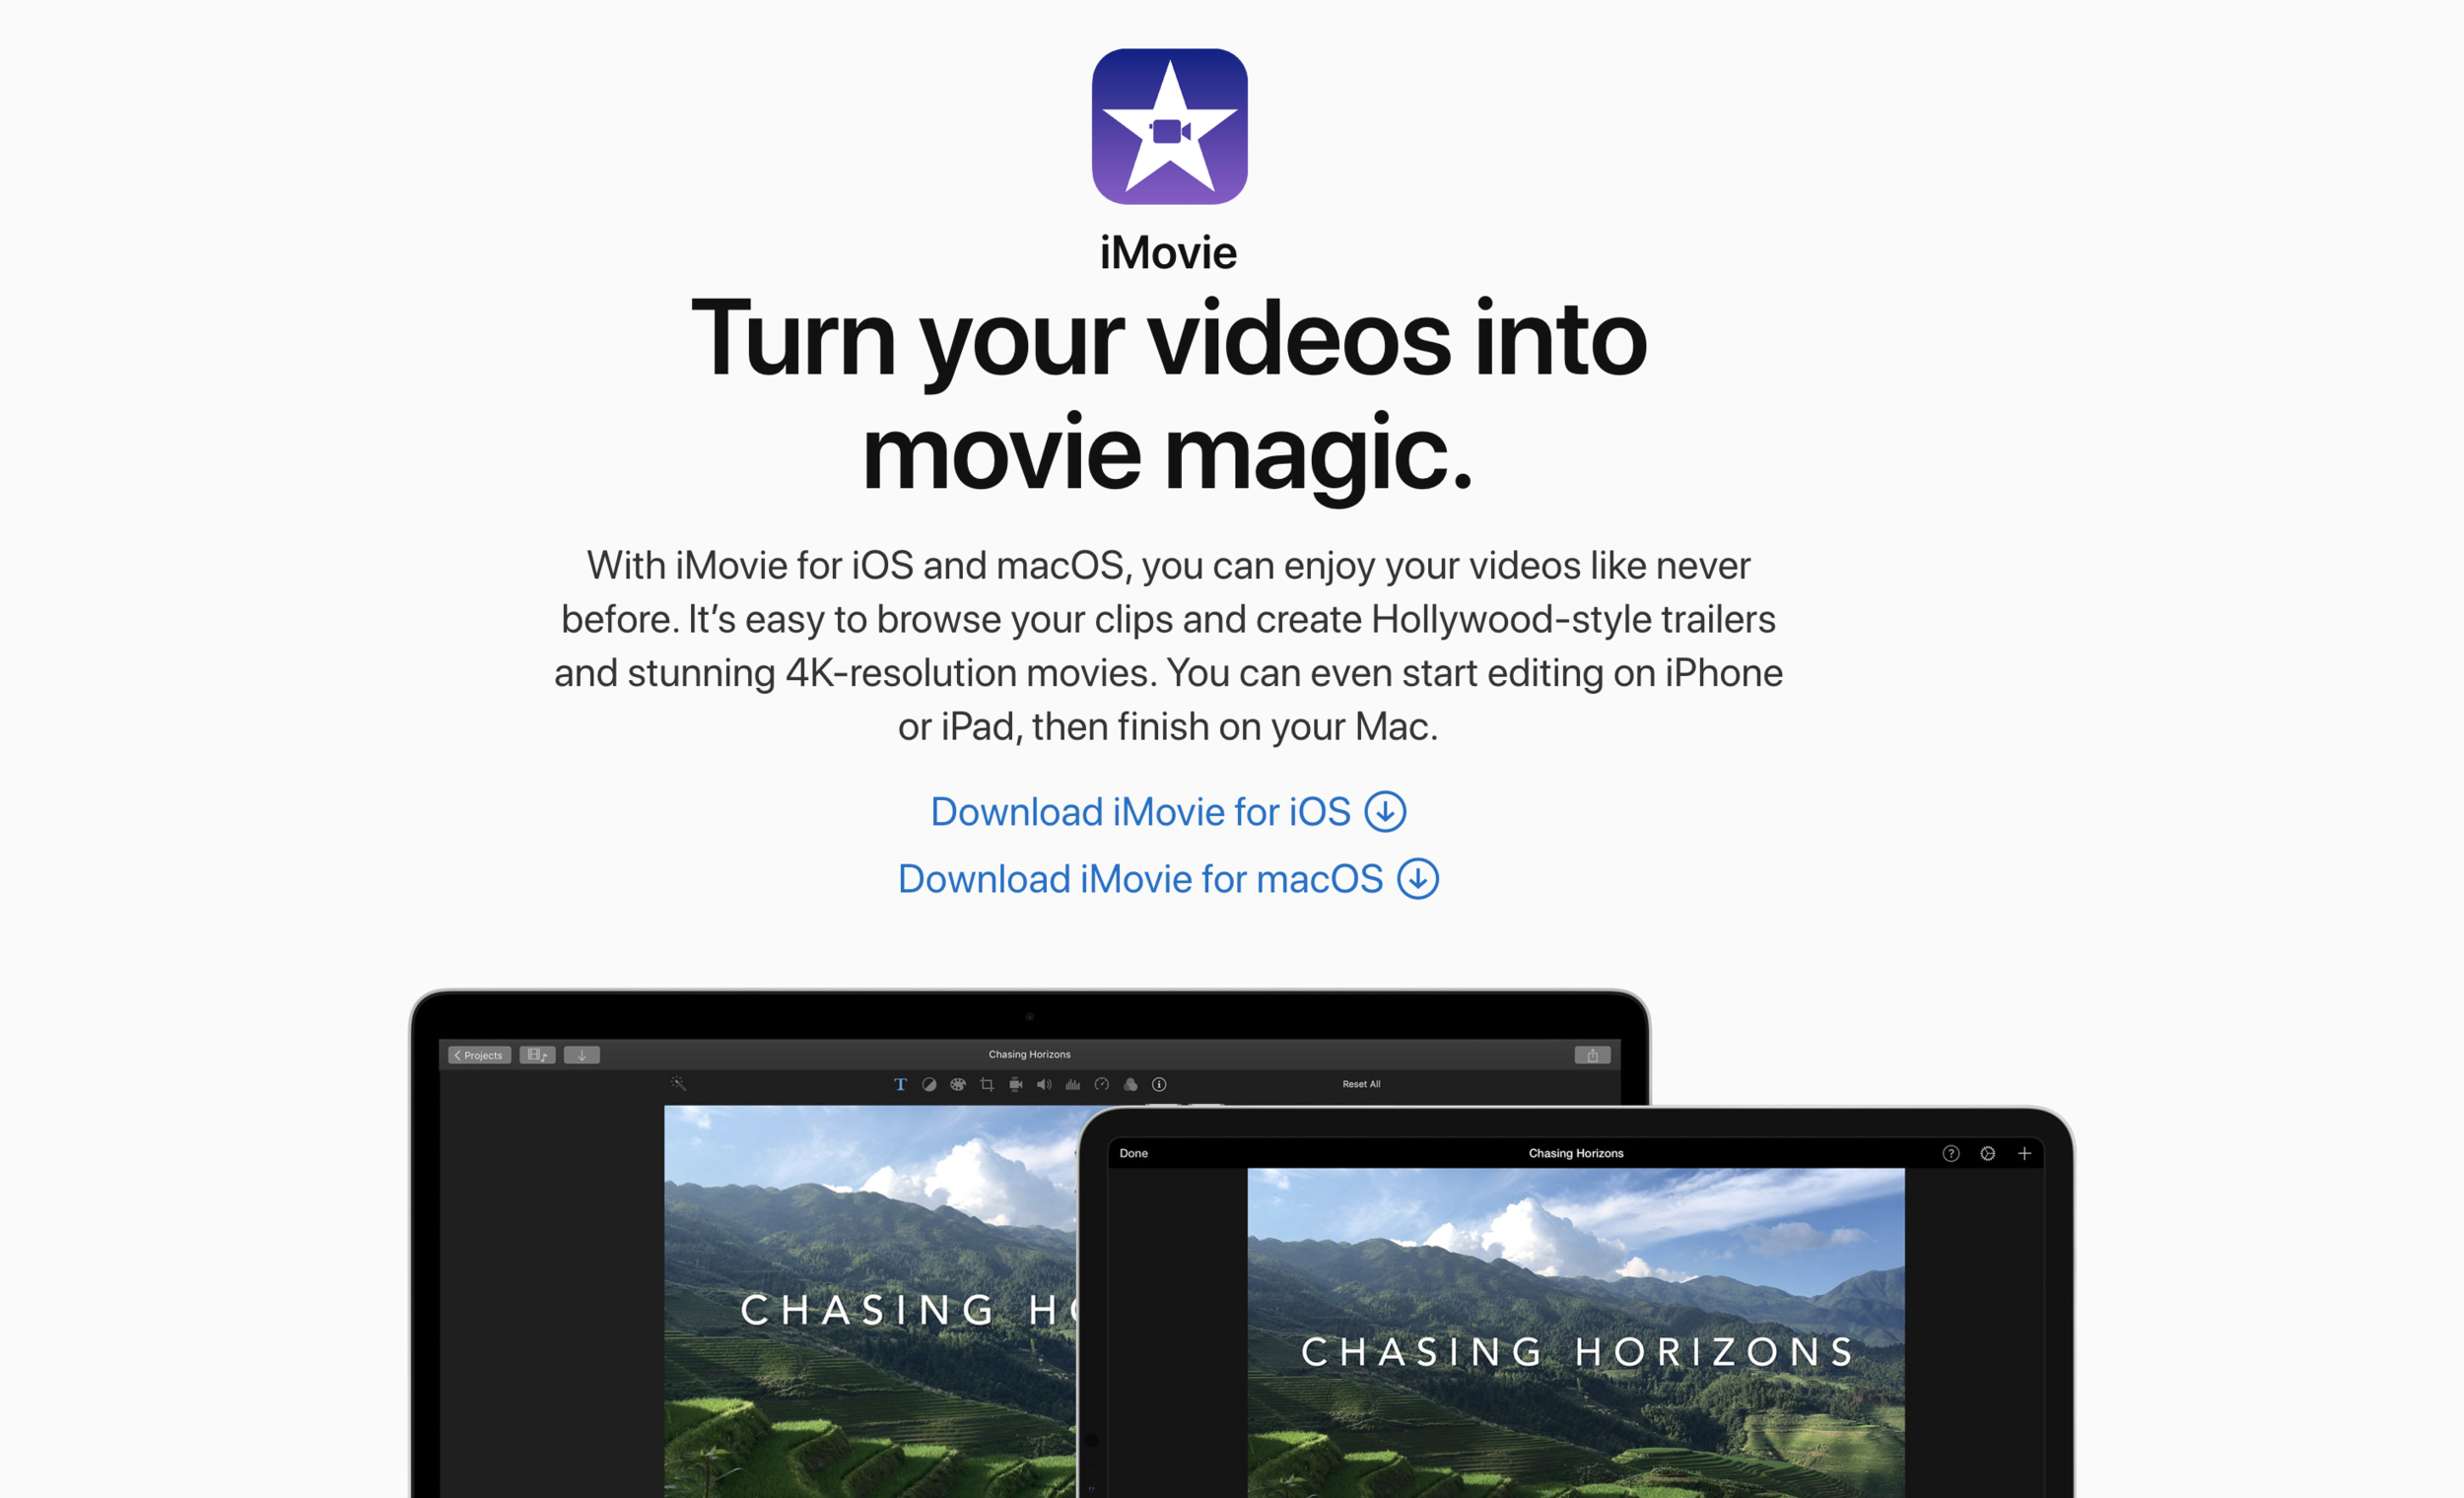
Mac - Start with iMovie (for free) and then upgrade to Final Cut Pro X or Adobe Premiere Pro.


All of these programs are non linear editors and will all accomplish the same things for you. Yes, some programs are a little more intuitive than others or they might do something like color grading better than the others but they all are pretty similar.
If you are NOT going to be doing a lot of complex editing I would suggest iMovie or the more advanced Final Cut Pro X as most people feel these are intuitive (it is made by Apple after all!)
If you WILL be doing more complex edits or want to share your editing projects with another editor than I would suggest using Adobe Premiere Pro. It’s what my team and I use.
For tips on editing videos check out my free videos on how to edit faster and my favorite keyboard shortcuts.
To learn how to edit and go deep into how to use each software check out my editing courses on Final Cut Pro X and Adobe Premiere Pro.

Ready to Learn Premiere Pro?
Want to learn everything I wish I knew when I started using Premiere Pro over 7 years ago?
Sign up for our 7-hour long course where I share every step of my process for editing a video in Premiere Pro CC.

Ready to Learn Final Cut Pro?
Editing software is hard to understand without the correct tools. We make it easy by giving you the essentials while leaving out the frills.
If you’re ready to dive head first into learning FCP, sign up for our course with 36 video lessons.